Henry and I were so surprised and flattered by all of the responses to London’s reveal wall video that I posted to Facebook. So I wanted to share the thought process behind the design and how we made it come alive.
Step 1: FINDING THE INSPIRATION
I have always known that I wanted London’s room to be very light and airy and was contemplating between a mint blue or light coral. In the end, we choose the color “Balmy” by Sherwin Williams Paint.

Step 2: TAKING MEASUREMENTS & DRAFTING
Since the arrows are white, I knew the background color has to be white. But our current wall is a beige color so we got it painted one coat of white first. Then last Thursday night while the hubby was out with the guys, I measured London’s room and started to draft up the design since I had no idea how far apart the lines should be or how long each arrows are based on the inspiration photo alone.

![]()
End up, London’s room is 8×11-ft. I pulled a picture of the Kendall crib I ordered online, took the measurements and pasted into proportion. The crib is 3 ft tall. Design wise, I started the first arrow line 1.5 ft from the bottom and make each arrow 1.5 ft apart. For the arrowheads, I alternated between 2 and 3 arrowheads for each line.
For the actual horizontal lines, my sister suggested making it thicker and the arrowhead more narrow since she likes the slender look more. It turned out to be an excellent idea. So Henry went out the next day and bought these two different sizes of painter tape:

TOOLS NEEDED:
We used a meter stick to measure and mark the wall. Then a leveler to draw a straight horizontal line across.
Each side of the arrow is 12-inch long. The best way to get a perfect cut is to have it slightly rested on an even surface. Since there’s no furniture in the room yet, I laid the tape out on the cardboard box, marked the 12-inch, 24-inch and 36-inch point (on the cardboard) and cut the tape appropriately.

As you can see here in the video, I had a ladder around so I placed the foot long arrow on the ladder so Henry can get them quickly to tape them to the wall. As for the angle of the arrowheads, we eyeballed and placed it at 45 degree to the arrow. *** To make sure that they are evenly parted, each arrow line was placed 3 inches from each other. We marked this on the arrow line to make sure it is even **** 
Here’s the actual video of the process:

*** before painting, make sure all of the tape are pressed really firmly against the wall. This way there’s less chance of the paint seeping through and ruin the lines.
Then we painted the rooms with 2 coats. Like I said, we used “Balmy” from Sherwin William.

To speed up the drying process, I had a fan blowing back and forth (since it was 9pm when we got done with the first coat.)
Now comes the big reveal!!!!
I was so afraid that the color is not dark enough to make the arrows stand out but no! The color is perfect since we want to keep London’s room bright and airy.

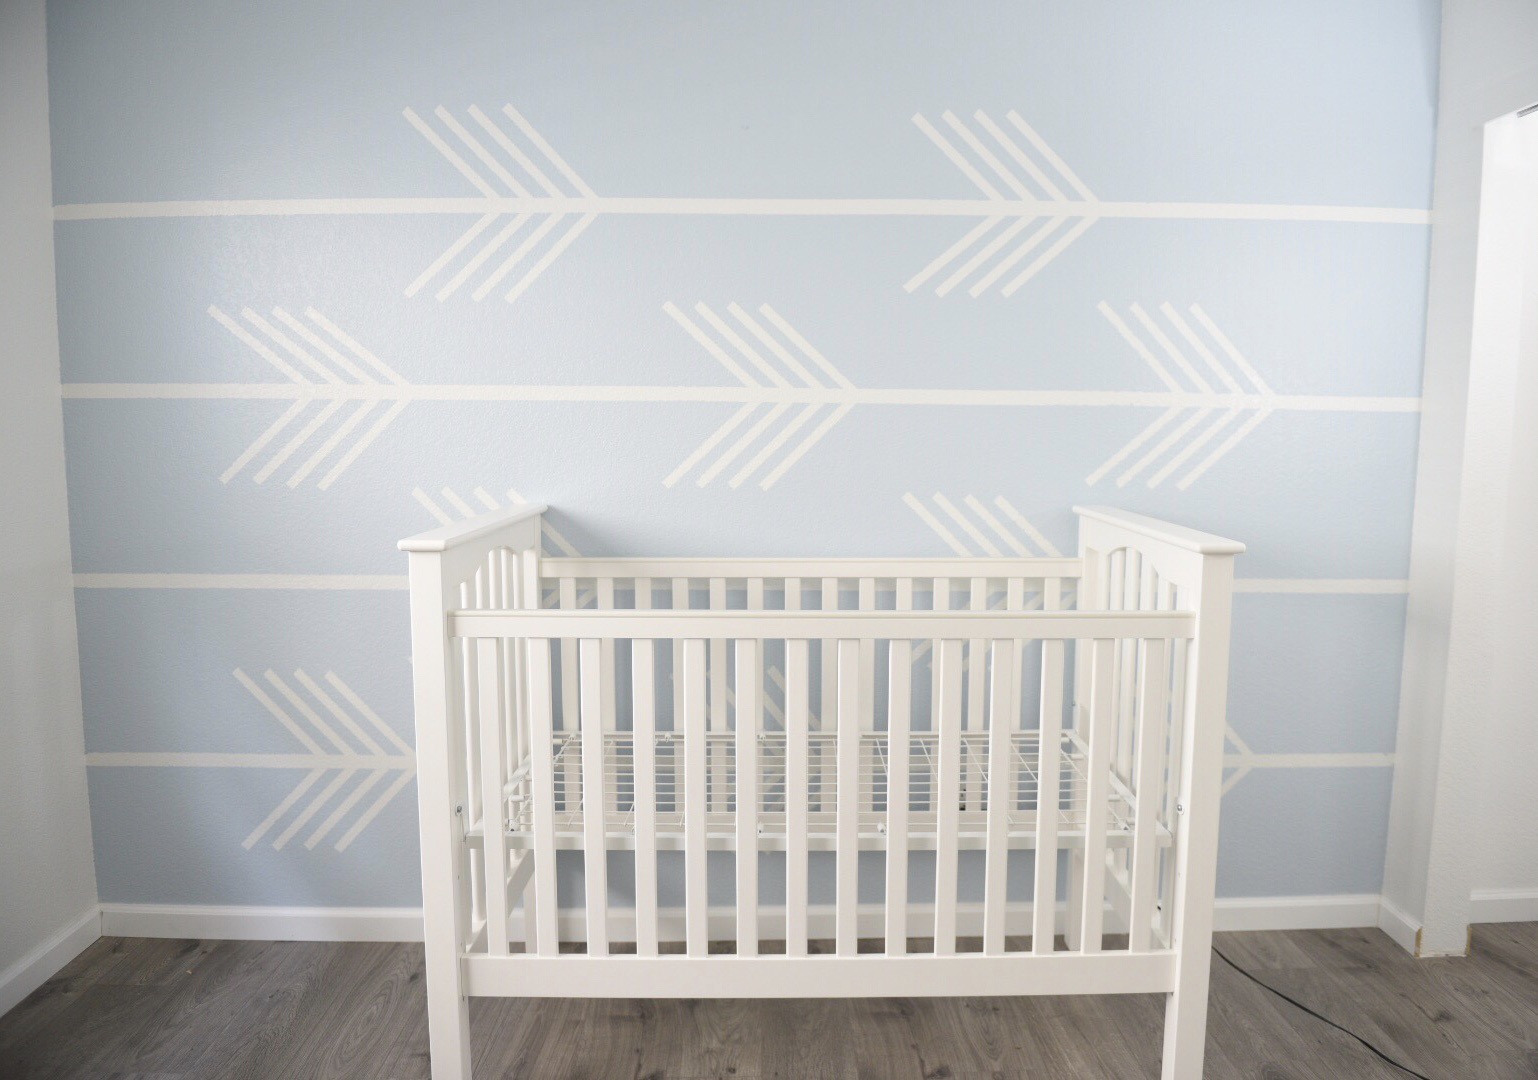
3 days later:
Last night we finally got around to put London’s crib up. This is how her nursery is looking so far during the day.


I hope you enjoy the content. Our house is a work in progress still but each improvement project we get done means we are one step closer to meeting her. And we cannot wait!!!!
Until the next post, take care!
Tra

